Masonry, liner, crown, and cap work done to code

Chimney restoration Pleasant Grove UT that fixes the whole stack

If your brick is spalling, your crown is cracked, or water is finding its way into the flue, chimney restoration Pleasant Grove UT is the fix that addresses all of it at once instead of patching one symptom. We rebuild failing stacks, reline deteriorated flues, and seal the top of the chimney so the next storm does not undo the work. Homeowners across Utah County call us when a repair quote turns into a rebuild conversation.

↗
Fast online booking

Request service today

Tell us what is happening. Our local team will confirm your visit shortly.

No spam. No obligation. Just practical help.
Thanks — we'll call shortly to confirm your visit.
chimney restoration you can count on
Careful work. Honest options.
About this service

What chimney restoration Pleasant Grove UT actually involves

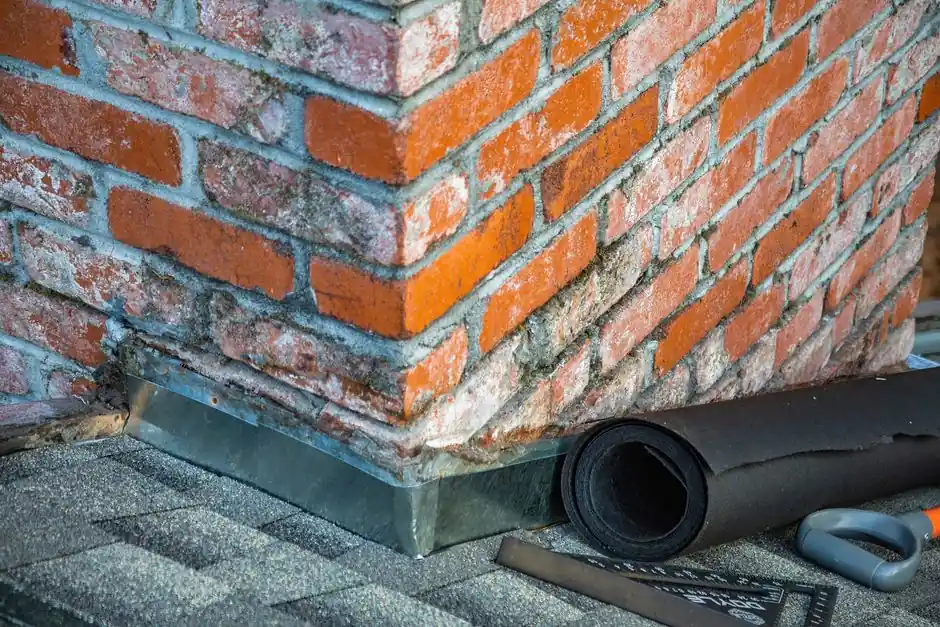
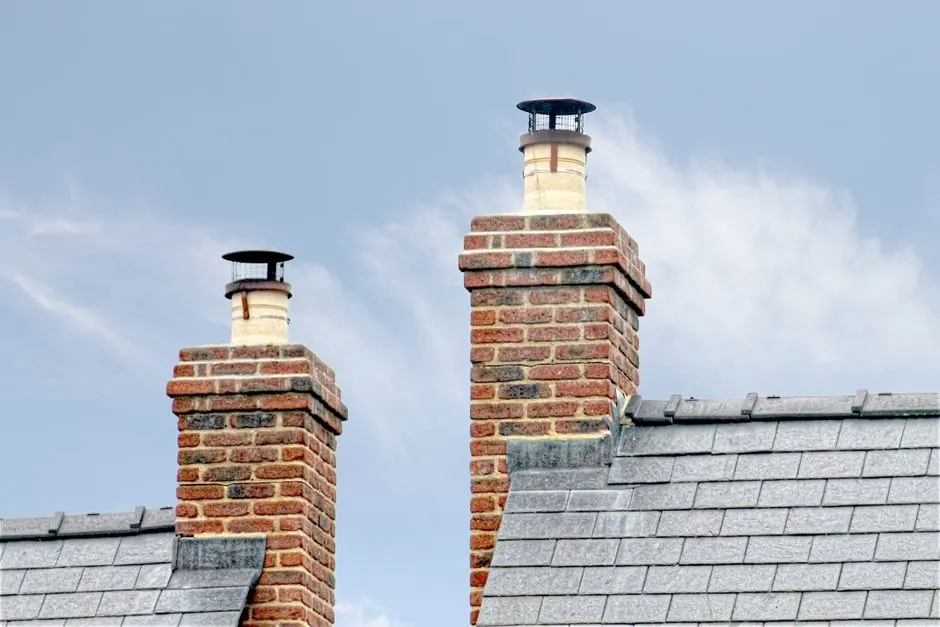
Chimney restoration is the process of returning a failing chimney to safe, code-compliant condition by repairing or replacing the masonry, liner, crown, flashing, and cap as a single system. We start with an inspection camera run down the flue and a moisture meter on the brick, because a chimney that looks fine from the driveway can be hollow behind the face. From there we tuckpoint or rebuild the stack, pour or recast the crown, drop a stainless steel liner where the old clay tile has cracked, and reset the flashing where it meets the roof.

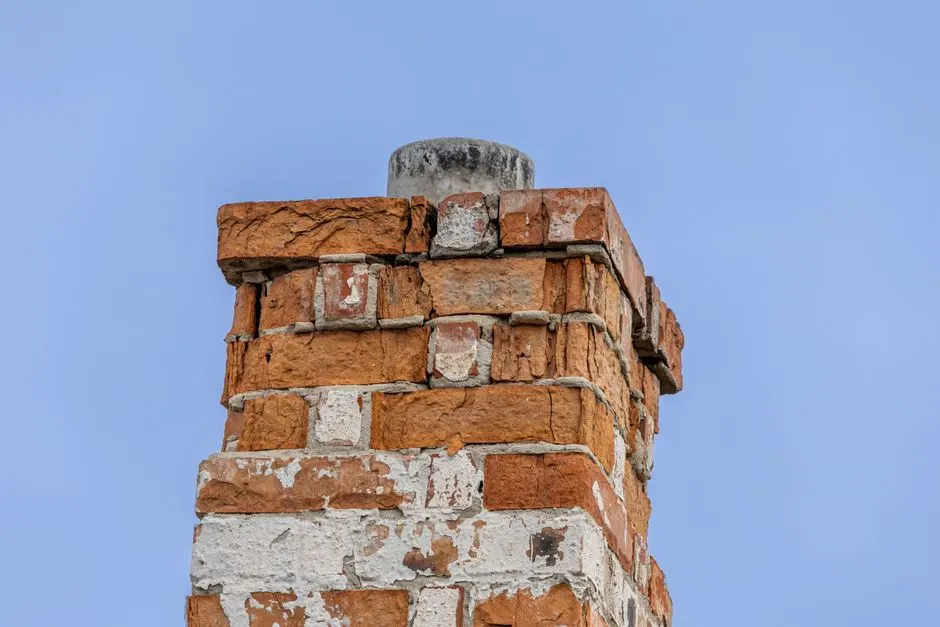
Most Pleasant Grove chimneys were built for wood heat and have spent 30 to 50 years cycling through freeze-thaw winters. That is what drives spalling brick, crown damage, and flashing failure around here. If you have been searching for chimney restoration Pleasant Grove UT near me after a leak showed up on the ceiling, the answer usually is not a tube of caulk. We see the same pattern in the older streets near Downtown Pleasant Grove and along the State Street Corridor: water gets in at the crown, freezes, and pops the mortar joints apart from the inside out.

  • ✓ Stops water at the source
  • ✓ Restores safe draft
  • ✓ Protects the home's value
  • ✓ Costs less than a rebuild
What's included

What our chimney restoration includes

Every restoration starts with a full inspection, and the scope is built from what we actually find. Here is what typically goes into a job. If a piece of your chimney is still sound, we leave it alone and tell you why.

✓

Full flue inspection

Camera run down the entire flue, moisture meter readings on the brick, and a roof-level check of the crown, cap, and flashing. You get photos of everything we find, whether or not you hire us.

✓

Masonry rebuild and tuckpointing

Failed mortar gets ground out and repacked, and spalled brick gets replaced with matching units. On a partial rebuild, we take the stack down to the last sound course and rebuild from there.

✓

Crown recast and seal

We remove the cracked crown, form a new one with the correct overhang and slope, and seal it with crown sealant. This is the single most effective step for stopping water intrusion at the top.

✓

Liner replacement

Insulated stainless steel liner sized to your appliance, connected at the collar and terminated at the top with a proper cap. We use HomeSaver and Olympia Chimney systems and hand you the warranty paperwork.

✓

Flashing and cap work

Step flashing and counterflashing reset into a fresh mortar joint, plus a new cap with spark screen. These two items handle most of the leaks that are not coming from the crown.

✓

Waterproofing and cleanup

Breathable waterproofing sealant applied after the masonry has cured, then full cleanup of the roof, gutters, and yard. We haul off all debris and leave the site the way we found it.

How it works

How our restoration process runs

01

Inspection

We run an inspection camera down the flue, check the crown and flashing from the roof, and take moisture readings on the brick. You get photos of what we found, not just a verbal summary. This visit takes 45 to 60 minutes on a typical single-family home.

02

Written scope

We price the job line by line: masonry, liner, crown, cap, flashing. You see what is repair work and what is replacement, and you see the total before we schedule. No change orders halfway through because someone guessed at the flue size.

03

Masonry and crown

We grind out failed mortar with a jointing tool and repack it with fresh mortar, replacing spalled brick with matching firebrick where needed. The crown gets recast with a proper overhang and crown sealant so water sheds off the top instead of soaking in. Most stacks take one to three days.

04

Liner and cap

We pull the old liner, drop an insulated stainless steel liner, and connect it to the appliance collar. Then we set a new chimney cap and damper, and reset the flashing with new counterflashing into the mortar joint. This is the step that ends most leaks.

05

Final test and walkthrough

We burn a smoke pen at the firebox to confirm draft, check the damper travel, and walk the roof line with you from the ground. You get before-and-after photos and a maintenance sheet with the flue size and liner spec written down for your records.

Tools & methods

Tools and methods we use

Purpose-built equipment, used by trained technicians — so the job is done accurately the first time.

Inspection camera

Run down the full length of the flue to find cracks, gaps, and blockages that cannot be seen from the top or the firebox. Every estimate includes camera footage.

Moisture meter

Reads water content in the brick so we know whether the stack is actively taking on water or just showing surface staining. It tells us whether waterproofing will help or whether the brick needs to be replaced.

Rotary chimney sweep and flue brush

Removes creosote and soot from the flue walls before any liner work. A clean flue is required for the liner to seat properly and for the adhesive to bond.

Masonry trowel and jointing tool

Used for tuckpointing and rebuilding. The jointing tool shapes the mortar profile to match the original stack so the repair blends in.

Smoke pen

Confirms draft direction and strength at the firebox after a reline or rebuild. If the smoke does not pull, we find out before we leave the job.

Chimney cap and damper

Stainless caps with spark screens keep rain and animals out. Top-sealing dampers cut heat loss when the fireplace is not in use.

Real results

Before and after.

Crown recast and flashing reset

Before

A two-story brick chimney on a 1960s home near Downtown Pleasant Grove had a crown cracked in three places and flashing that had pulled away from the roof. Water was staining the ceiling in the room below every time it rained.

After

We removed the old crown, formed a new one with a 2-inch overhang and proper slope, sealed it, and reset the step flashing and counterflashing into a fresh mortar joint. Total job took two days. The ceiling stain has not reappeared through two winters.

Partial rebuild and reline

Before

A 1948 home in Manila had 60 spalled bricks in the top six courses and mortar falling out across the whole stack. The clay tile liner was cracked in four places and the fireplace smoked heavily whenever it was lit.

After

We rebuilt the top six courses with matching brick, tuckpointed the rest of the stack, and installed an insulated stainless steel liner sized to the firebox. Job took four days. Draft test passed on the first try and the fireplace now burns clean.

Metal chimney chase cover replacement

Before

A newer home near Mount Mahogany had a rusted chase cover on a factory-built metal chimney. Water was running down the outside of the flue pipe and rusting the firebox components from the top down.

After

We replaced the chase cover with a stainless unit, resealed the seams, and installed a new cap with a spark screen. The job took one day. The rust on the firebox stopped spreading and the chase has stayed dry since.

Problems we solve

Chimney problems we fix in Pleasant Grove

Most chimneys we look at have more than one thing going wrong. Water gets in, freezes, and starts a chain reaction that shows up as leaks, spalling, and draft problems all at once.

Ask a pro →
01

Water leaking into the ceiling around the chimney

We trace the leak with a moisture meter to find the actual entry point, which is usually the crown or the flashing. Then we recast the crown, reset the flashing, and apply waterproofing sealant so the fix holds through the next freeze-thaw cycle.

↗
02

Crumbling mortar and spalling brick on the stack

We grind out the failed joints with a jointing tool and repack them with fresh mortar, replacing spalled brick as we go. On older Pleasant Grove homes we match brick color and joint profile so the repair is not obvious.

↗
03

Cracked or deteriorated flue liner

We reline the flue with an insulated stainless steel liner sized to your appliance, which restores draft and brings the system into NFPA 211 compliance. Most relines are done in a single day.

↗
04

Damper that will not seal or open fully

We repair or replace throat dampers and can install a top-sealing damper, which cuts heat loss noticeably. Most damper repairs are done in under two hours.

↗
Proof you can check

Licensed, certified, and documented

✓
CSIA Certified Chimney SweepChimney Safety Institute of America
✓
NFI CertifiedNational Fireplace Institute
✓
Utah contractor licenseUtah Division of Professional Licensing
✓
NFPA 211 complianceNational Fire Protection Association
Good questions

Frequently asked questions about chimney restoration

(855) 927-7517 →

Most chimney restoration Pleasant Grove UT projects run $1,800 to $6,500 in 2026, with a typical partial rebuild and reline landing near $3,400. Crown and flashing repairs alone often come in under $900. Full teardown and rebuild of a two-story stack can reach $9,000 or more. The flue size, stack height, and how much brick has spalled are the three biggest drivers.

A chimney rebuild in Pleasant Grove includes tearing out the failed section of stack, laying new brick or firebrick with fresh mortar, recasting the crown, and resetting the flashing and cap. If the liner is cracked, we reline at the same time so you are not paying for two separate visits. Most rebuilds take two to four days on site.

Yes. Chimney restoration in Pleasant Grove UT addresses structural damage directly, including leaning stacks, cracked crowns, and mortar joints that have failed from freeze-thaw cycling. We brace or rebuild the affected section, then correct the water intrusion that caused the damage. If the chimney has separated from the house, we reflash and tie it back before finishing the masonry.

A crown and flashing repair takes one day. A partial rebuild with a new liner runs two to four days. A full stack rebuild on a two-story home can take five to seven days, weather permitting. We do not schedule masonry work when the forecast shows a hard freeze, because fresh mortar needs above-freezing temperatures to cure properly.

Ready when you are

Get your chimney restoration Pleasant Grove UT estimate

We inspect, measure, and quote before any work starts, and the estimate is free. Call (855) 927-7517 and we will get a crew out to look at your stack, usually within a day or two. Active leaks get same-day attention.

Get a free estimate (855) 927-7517 →
Request an appointment

Get in touch with us

Call (855) 927-7517 any time, day or night, and a real person answers. For non-emergency work, we return messages within a few hours during business hours and can usually schedule an estimate the same week. Tell us what you are seeing and we will tell you what it likely means.

Request received — our team will be in touch shortly.
Tap to call(855) 927-7517