01
Exterior walk
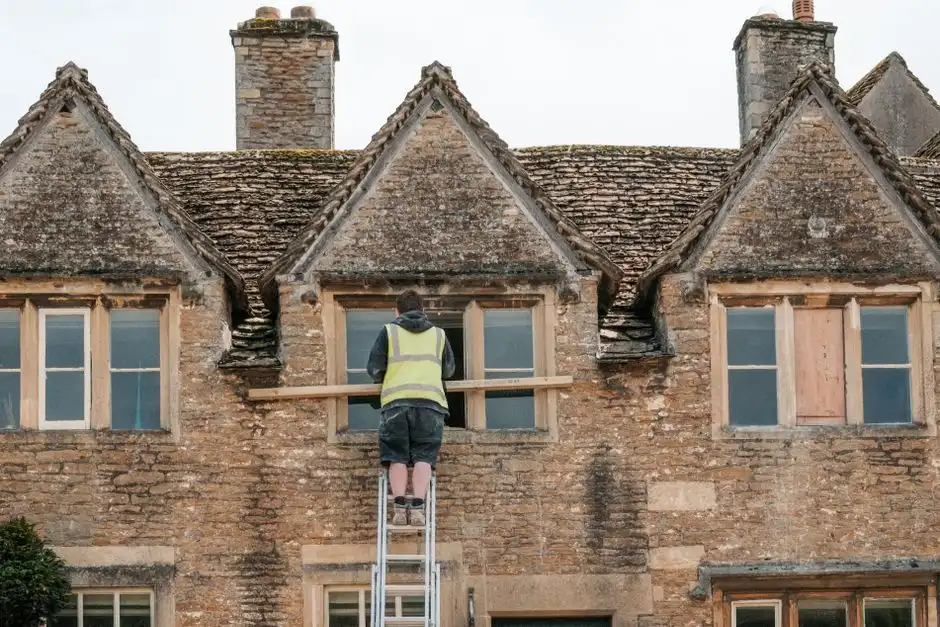
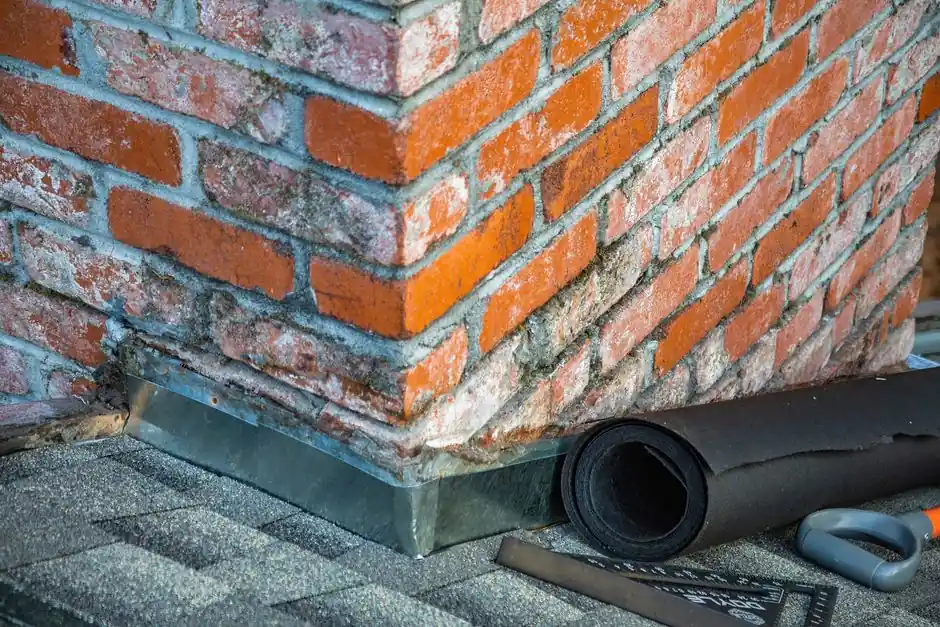
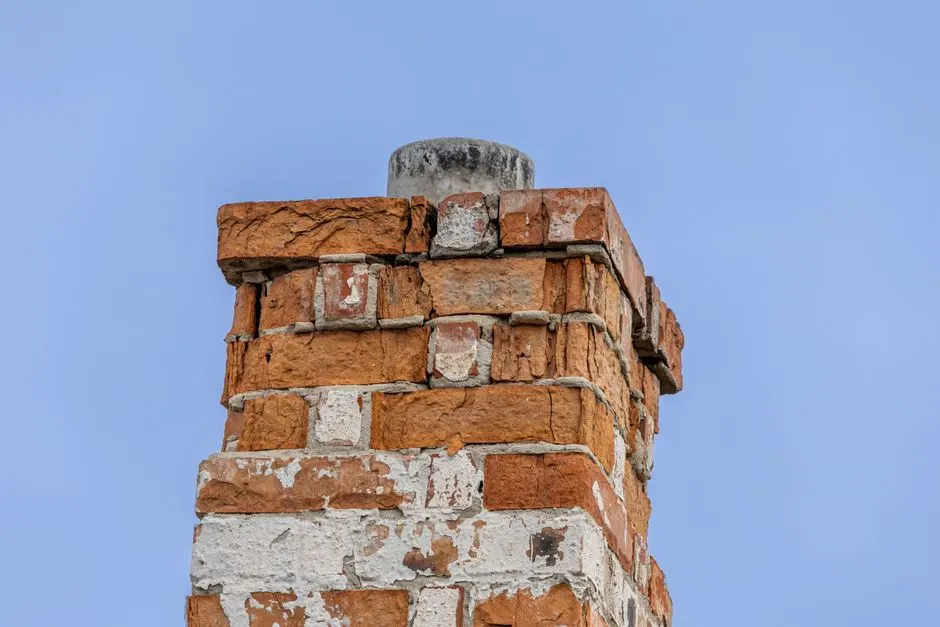
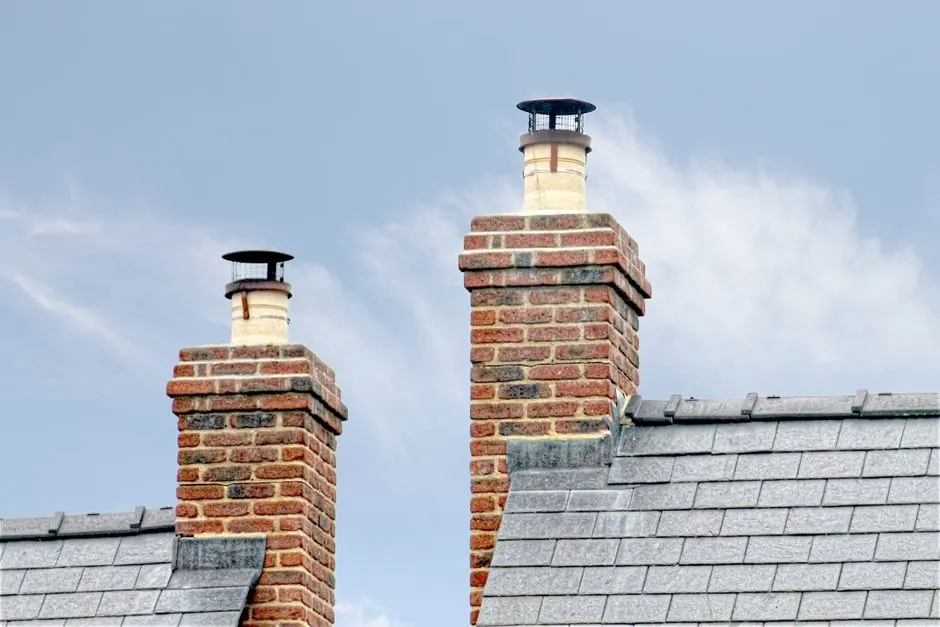
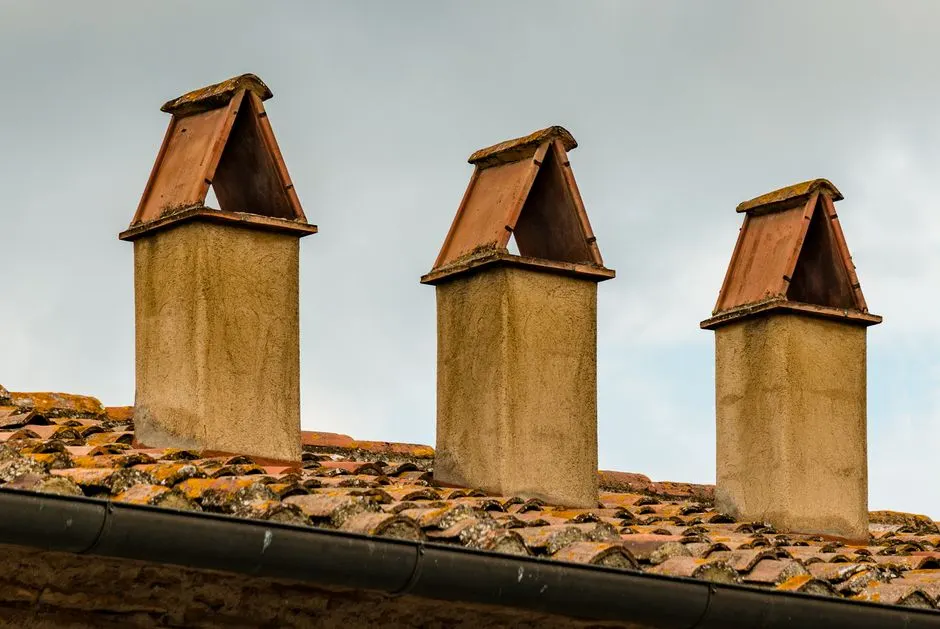
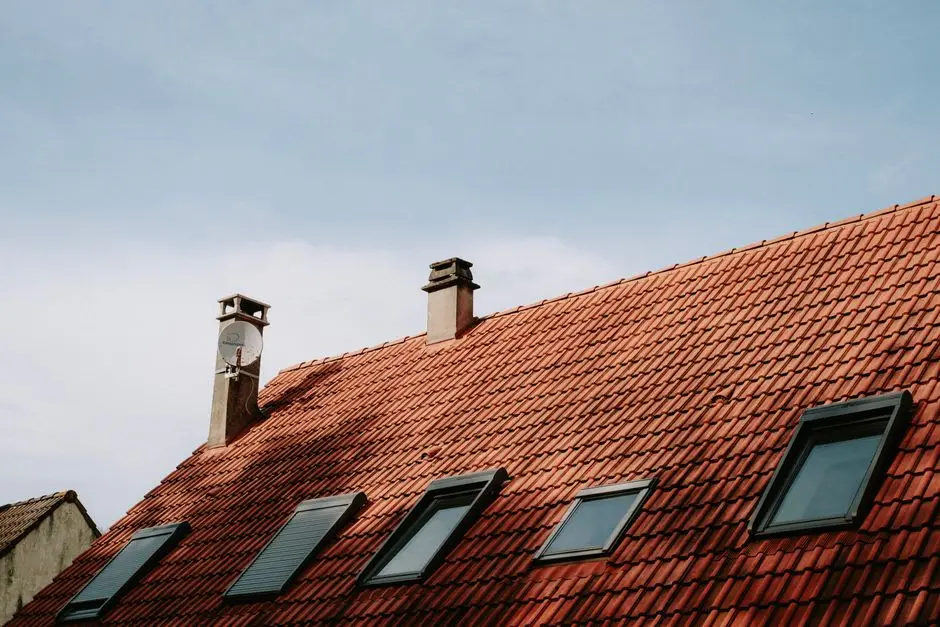
We start at the roofline. Crown, cap, flashing, brick face, and mortar joints get checked for spalling, cracking, and rust streaks. On a two-story Pleasant Grove home we set a ladder and use roof-safe boots. This step takes about 15 minutes and usually surfaces the leak source before we ever go inside.
02
Firebox and damper
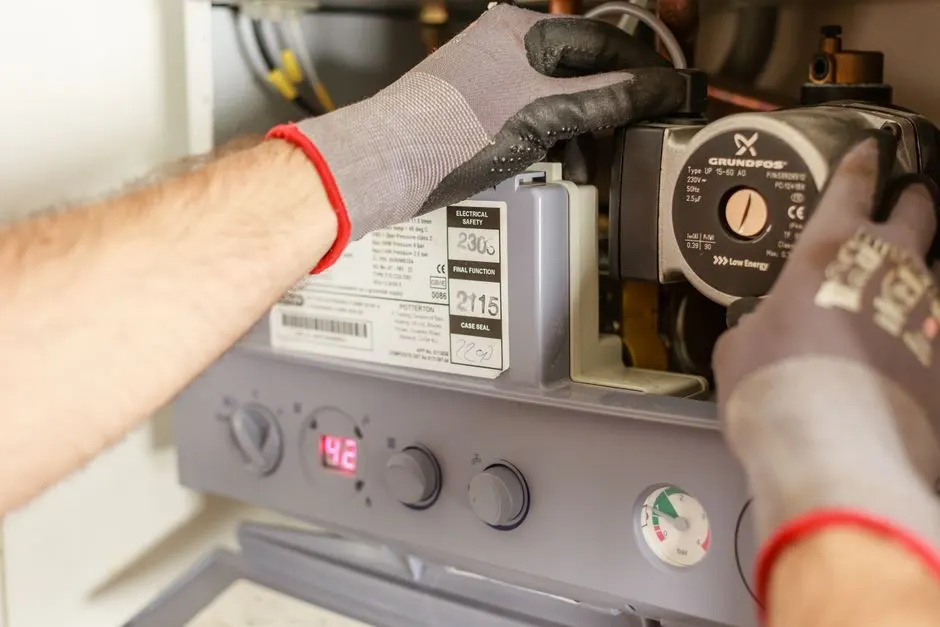
Inside, we open the damper and check its travel, then inspect the firebox for cracked firebrick and eroded refractory cement joints. A damper that sticks or will not seal is a common find in older homes near Old Pleasant Grove. We note the gap measurement and photograph the jointing.
03
Flue and liner scan
We run a rotary chimney sweep brush down the flue to knock loose soot, then drop an inspection camera on a reel to look for liner deterioration, gaps, and offset joints. On a stainless steel liner we check for pitting and seam separation. This is where most hidden problems show up.
04
Draft and moisture test
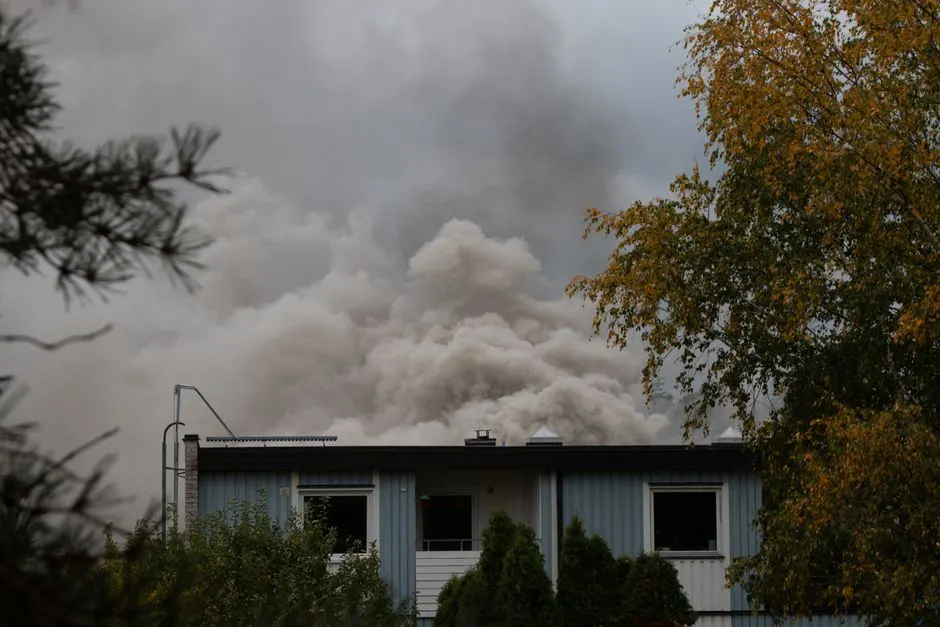
We light a smoke pen at the firebox and watch how the smoke pulls. Weak draft points to a blockage, a cold exterior flue, or a sizing problem. A moisture meter on the surrounding framing tells us whether water is migrating in from a flashing failure or a cracked crown.
05
Report and walkthrough
You get a written report with photos, code references from NFPA 211 and IRC chimney code, and a plain-English priority list. We walk you through it in person, answer questions, and quote any repair work on the spot. No pressure, no same-day upsell games.